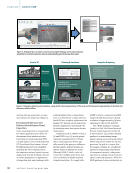
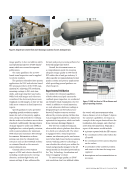
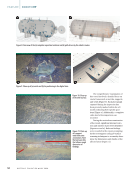
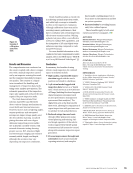
Ñ Spotting corrosion. Rust and corrosion can
compromise the structural integrity of a vehicle.
Visual inspection helps in identifying areas of
corrosion that need to be addressed to prevent
further damage.
Ñ Conducting safety inspections. Critical safety
components such as seat belts, airbags, and lights
are visually inspected to verify that they are func-
tioning properly.
Ñ Examining the engine and exhaust system. The
engine and exhaust components are inspected for
signs of damage, corrosion, or unusual deposits
that might indicate underlying issues.
Ñ Evaluating the suspension and steering. Visual
inspection of the suspension and steering systems
can reveal issues such as worn shocks, struts, or
other suspension components that could affect
the vehicle’s handling capabilities.
Visual Inspection in Automotive Repair
Auto mechanics use visual inspection to identify
a broad range of vehicle issues. Following is a
short list of vehicle issues where visual inspec-
tion plays a crucial role in both identifying the
problem and executing repairs: tire wear and
tread depth assessment, detection of vehicle
dents, and alignment evaluation. This article
will discuss the application of machine vision
methods by focusing on these issues and compar-
ing typical inspection processes with and without
machine vision systems.
Tire Tread Depth
In the US, the minimum legal tire tread depth is
2/32 in. (1.6 mm). This standard applies to all pas-
senger cars, light trucks, and SUVs. The measure-
ment should be taken in the major tread grooves of
the tire and across different points along the tire’s
circumference to ensure accuracy, as tires can wear
unevenly.
VISUAL INSPECTION CAPABILITIES AND
LIMITATIONS
The 2/32-in. standard is based on the fact that tires
significantly lose their ability to grip the road surface
and effectively disperse water as their tread wears
down. This increases the likelihood of hydroplan-
ing and accidents, particularly in wet conditions.
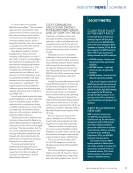
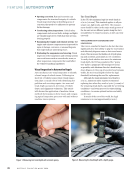
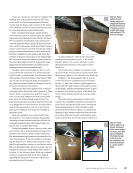
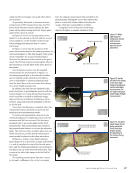
To easily check whether tires meet the minimum
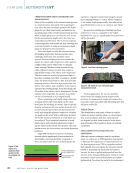
tread depth, the US has popularized the “penny
test.” Insert a penny into the tread groove as far
as possible, with Abraham Lincoln’s head facing
down (Figure 1) if the top of Lincoln’s head remains
visible, the tire’s tread depth is below the legal
threshold, indicating the need for replacement.
Although the legal minimum tread depth is
2/32 in., numerous safety experts recommend
replacing tires when they reach 4/32 in. (3.2 mm) of
the remaining tread depth, especially for wet driving
conditions—and even more so for winter driving
conditions—to ensure optimal traction and safety
on the road.
In much of the rest of the world, the legal
minimum is 1.6 mm (approximately 2/32 in.).
FEATURE
|
AUTOMOTIVEVT
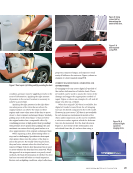
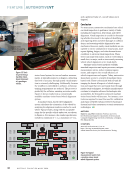
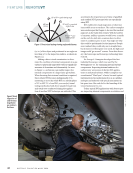
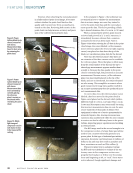
Figure 2. Measuring tire tread depth with a depth gauge. Figure 1. Measuring tire tread depth with a Lincoln penny.
26
M A T E R I A L S E V A L U A T I O N • J U L Y 2 0 2 4


