a more frequent schedule to ensure flight safety.
Another critical aspect of RVI for both aviation and
industrial turbines is determining whether a turbine
can operate safely and efficiently until the next
scheduled inspection, thereby ensuring maximum
uptime and profitability. This often involves needing
to make precise and accurate measurements of
various types of surface indications. A thorough
understanding of RVI techniques, and the equip-
ment being used, is critical for collecting accurate
image data to make these assessments.
Background
It is crucial to have RVI equipment that meets
examination requirements, can accurately measure
indications and anomalies on demand when
needed, and is standardized to provide indication
size analysis traceable to precision measurement
standards like those at the National Institute of
Standards and Technology (NIST). This ensures
accurate decision-making data can be obtained.
Even with the best equipment in the world,
training—or lack of training—of RVI technicians sig-
nificantly impacts the quality of the inspection data
obtained. Training for RVI technicians is no less critical
than it is for technicians in other NDT disciplines such
as ultrasonics, radiography, and electromagnetics.
When preparing for a borescope inspection,
some critical factors must be considered to help
ensure success. Ask yourself:
Ñ Is the camera and entire video borescope system
serviceable and standardized to provide indica-
tion size analysis traceable to precision measure-
ment standards like those at the National Institute
of Standards and Technology (NIST)?
Ñ Does the RVI technician know how to inspect the
cleanliness of the camera and optical tip adapters,
with both fixed and removable optical lenses?
Ñ Is the technician trained and qualified to use the
equipment, and do they understand the inspec-
tion requirements?
Ñ Is their training complete on both the RVI system
and the asset to be inspected?
Ñ Has the performance of the technician and RVI
equipment been evaluated with a Probability of
Detection study, or has a Gage Repeatability and
Reproducibility (Gage R&R) [3] been completed
on assets requiring accurate detection and
measurement analysis?
Ñ Does the technician know the necessary diameter
and length of the flexible camera shaft to ensure
access through all borescope ports and to reach
the farthest inspection points?
Ñ What is the required travel path of the camera
to the inspection area? Are guide tubes, push
poles, or other accessories required to deliver the
camera to the inspection site?
Ñ Does the technician know what to do and what
not to do if the camera becomes stuck in a
turbine?
Ñ What is the internal environment in the inspec-
tion area? Is it hot, cold, toxic, explosive, or
corrosive?
Each of these are key factors to be aware of
when performing an RVI task, and they should
all be addressed in a training program. One must
understand the benefits—and risks—of performing
RVI with the proper equipment and trained tech-
nicians versus best-in-class equipment and inade-
quately trained technicians.
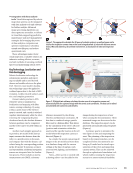
RVI Data Collection and Analysis
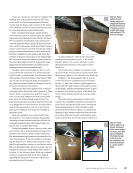
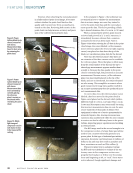
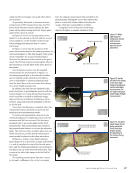
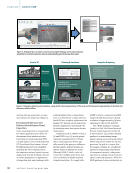
In these examples, you will see where RVI measure-
ments were taken, and that the measurement data
obtained was accurate. However, the measurement
data was also very wrong. How can measurement
data in the same image obtained with best-in-class
RVI equipment be both accurate and wrong at the
same time?
FEATURE
|
REMOTEVT
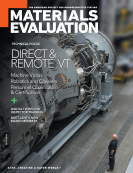
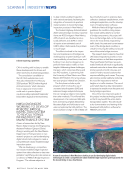
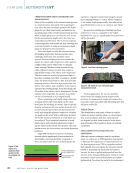
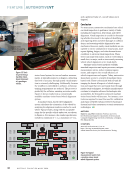
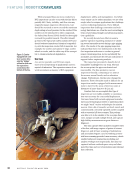
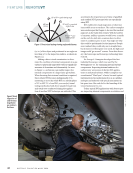
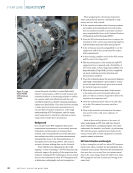
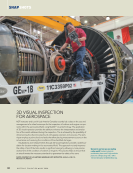
Figure 5. Large
frame 7HA.03
GE Vernova gas
turbine.
44
M A T E R I A L S E V A L U A T I O N • J U L Y 2 0 2 4
CREDIT:
GE
VERNOVA


